MeraForum Community.No 1 Pakistani Forum Community

| MF Design Tutorials !! Yaha sei ap Urdu Image Designed Poetry Banana Sikhein !! |
| Advertisement |
|
|
Thread Tools | Display Modes |
|
|
|
(#1)


|
|
||||
 Show Printable Version Show Printable Version
 Email this Page
12-21-2013, 02:33 PM Email this Page
12-21-2013, 02:33 PM
Put An Image In Text Using Adobe Photoshop In This Tutorial I Am Providing The Technique How To Put An Image In Text Using Adobe Photoshop. It's A Common Effect Using Nowadays. The Main Trick Of Placing An Image In Text Is Done By The "Clipping Mask" Feature. We Are Going To Try This Effect. (Will Be Final Result)   Step 1) Open An Image To Place Inside The Text From The Very Beginning We Need An Image Which We Are Going To Place Inside Of Our Text. I Will Use A Random Scenery Photo. 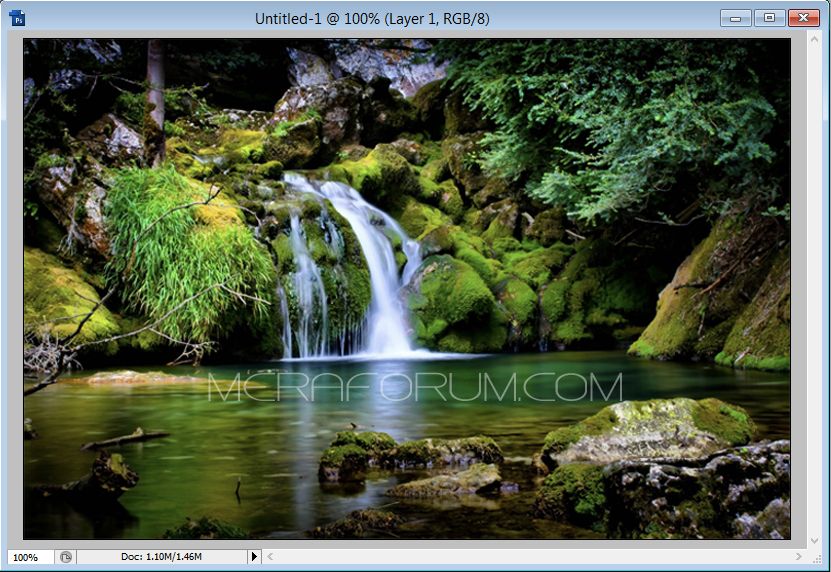 Step 2) Duplicate The Background Layer We Can See That We Are Currently Have One Layer "Background" In The Layers Palette. We Need To Duplicate This Layer, Using The Shortcut Key "CTRL+J" . Looking In The Layers Palette, We Now Have Two Layers. The First Background Layer Is On The Bottom And The Duplicated Layer (Layer 1) Is Above It. 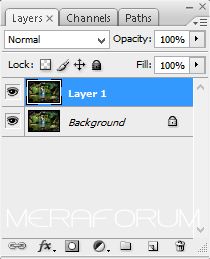 Step 3) Add A New Blank Layer Between The Two Layers Now, We Have To Add A New Blank Layer Between The "Background" And "Layer 1" Layers. Meanwhile Layer 1 Is Selected, Highlighted In Blue. To Add A New Layer , Click On The New Layer "Icon" At The Bottom Of The Layers Palette, Encircled In Red In Below Figure. 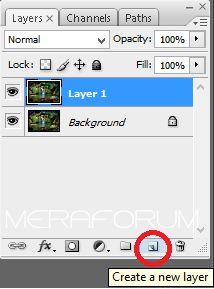 But The New Layer Is Created Above Whichever Layer Is Currently Selected, But We Want The New Layer In The Middle Of Other Two Layers. To Place It In The Middle, Select The New Layer And Drag It Down In The Middle, As Shown Below; 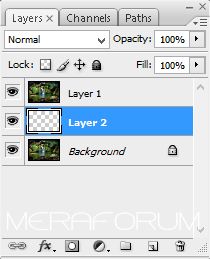 Step 4) Fill The New Layer With White Color The New Layer Is Blank, So Fill It With White To Appeare It As A White Backgroun After We've Placed Our Image Inside The Text. Go Up To The "Edit" Mene At The Top And Select "Fill". It Will Open A Fill Dialog Box, Select "White" From The Contents Option And The Click "OK". 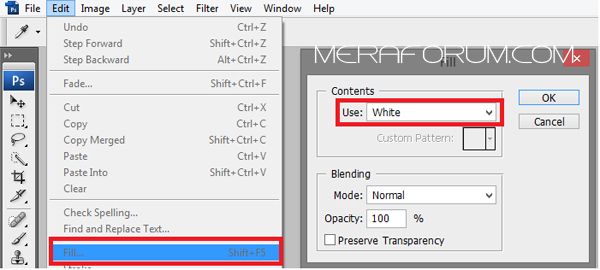 If We Look At The Layer Preview Thumbnail For "Layer 2" In The Layers Palette, We Can See The That It Is Now Filled With White. 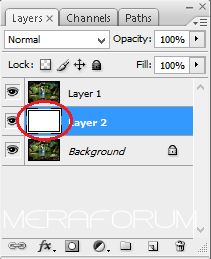 Step 5) Select "Layer 1" In The Layers Palette Now, We Have To Add Our Text But We Will Need To Have The Text Appear Above "Layer 1", To Make Precise, We Can See Our Text, Click On "Layer 1" In The Layers Palette To Select It, It Will Create A New Type Layer And Will Place The Type Layer Above "Layer 1". 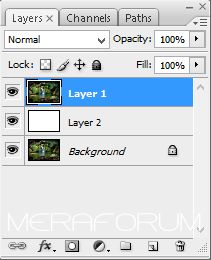 Step 6) Select The "Type Tool" Select The "Type Tool" From Tools Palette. You Can Also Use Shortcut Key For It, Just By Clicking "T" On Keyboard. 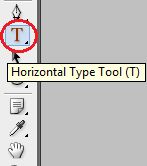 Step 7) Choose Font In The Option Bar With The Type Tool Selected, Go Up To The Options Bar At The Top And Choose Whichever Font You Want To Use. (Tip: Fonts With Thicker Letters Work Best For This Effect).  Step 8) Set White As Foreground Color Experts Don't Need This Step But To Help You See The Text, We Select "White" For Text Color. Shortcut Key Used For "White Foreground Color" Just Press The Button "X" On Keyboard It Will Automatically Set The Foreground Color As White. 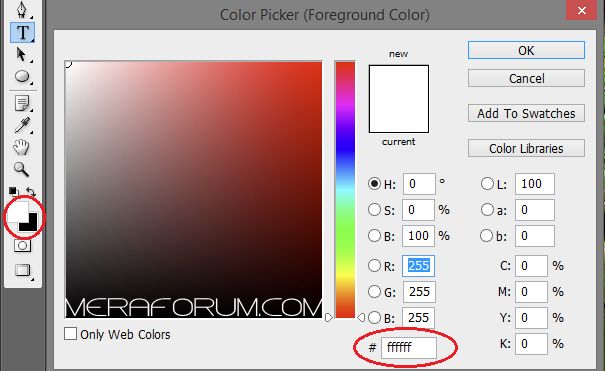 Step 9) Add Your Text With The "Type Tool" Selected, Your Font Choosen And White As Your Foreground Color. Now. Now Click On The Image To Add Your Text. As This Is A Scenery Image, I Have Typed "Scenery". 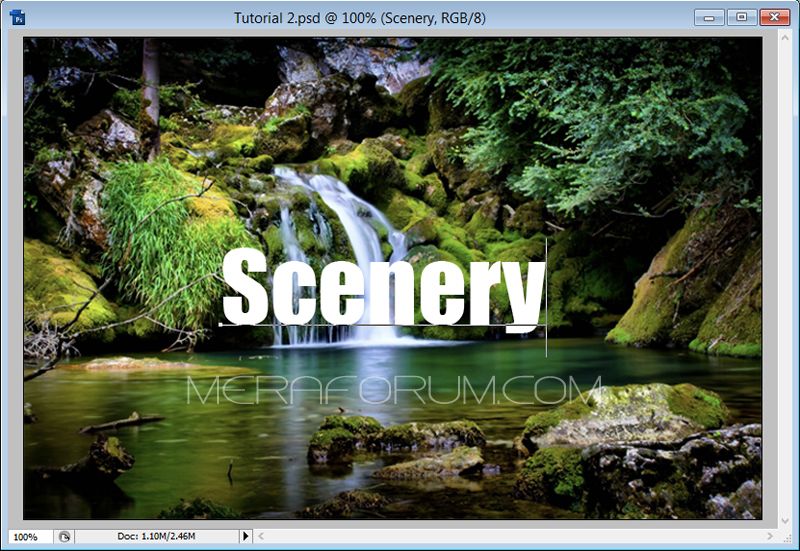 Step 10) Resize And Reposition With "Free Transform" Feature Now, It's The Time To Resize And Reposition Your Text According To Your Choice, We Can Resize And Repositioning Through "Free Transform". Shortcut Key Used For It Is, "CTRL+T". Now You Can Make The Text Bigger Or Smaller And Even Can Fix It's Location. Press "Enter" When You're Done. 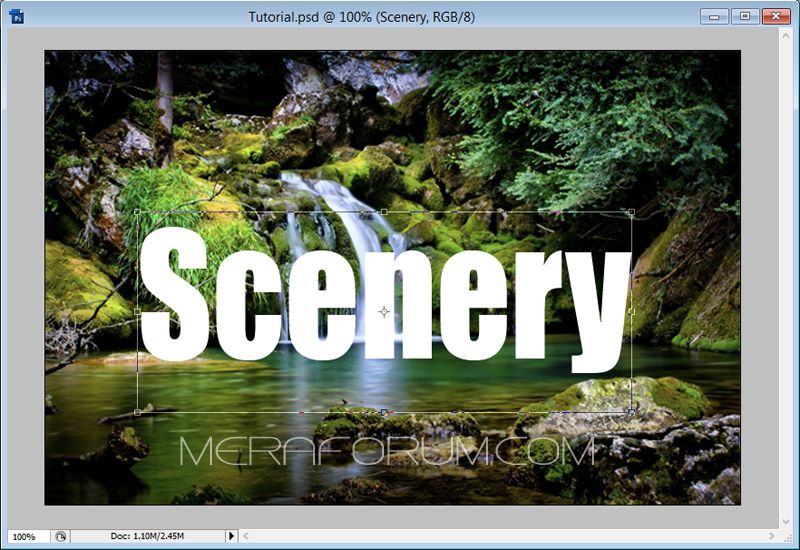 Step 11) Drag The Text Layer (Scenery) Below "Layer 1" You Need To Move The Type Layer "Scenery" Below "Layer 1" In The Layers Palette. Click On The Text Layer, Then Simply Drag It Down Below "Layer 1". A Thick Black Line Will Appear Between "Layer 1" And "Layer 2". 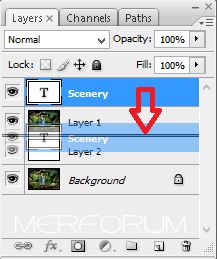 Release Your Mouse Button When The Black Line Appears To Place The Text Layer Between "Layer 1" And "Layer 2". 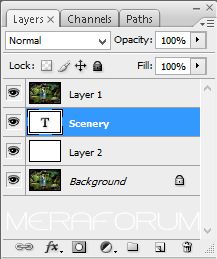 Step 12) Select "Layer 1" Again Click Again On "Layer 1" In The Layers Palette To Select It. The Text Will Temporarily Disappear Below "Layer 1". 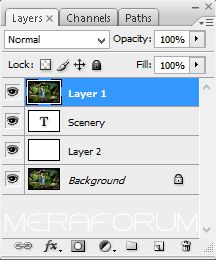 Step 13) Click "Create Clipping Mask" To Do The Trick That The Image Is Inside The Text, We Have To Use Clipping Mask Feature. This Will Clip The Photo On "Layer 1" To The Text On The Layer Directly Below It. The Area Of The Photo That Appear Directly Above The Letters Will Get Visible And The Remaining Photo Will Get Invisible/Disappeared. Select "Layer 1" From The Layers Palette And Go Up To The "Layer" Menu At The Top And Click "Create Clipping Mask". 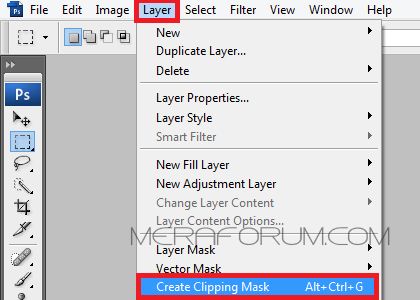 We Can See That Image Appears Inside The Text 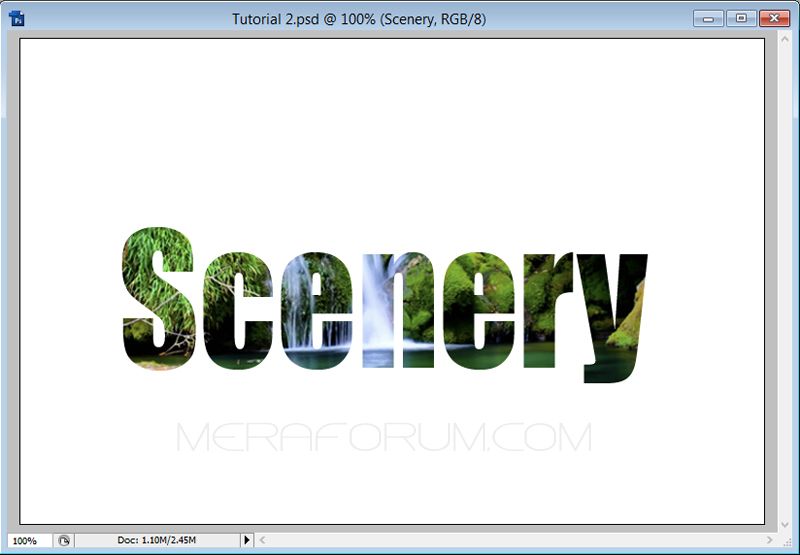 Step 14) Add A "Drop Shadow" This Step Is Not Necessary But Using "Drop Shadow" Effect For The Text Will Make It More Precise And Fine. First Select The Text Layer (Scenery) In The Layers Palette, Then Click On They "Layers Style" Icon At The Bottom Of The Layers Palette, Encircled In Red. Select "Drop Shadow" From The List. 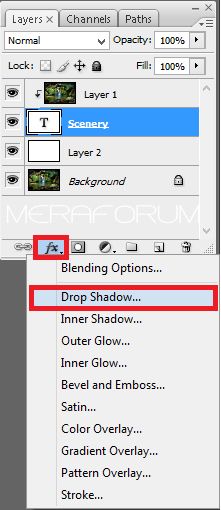 A Layer Style Dialog Box Will Open Set To He "Drop Shadow" Options. All You Need To Do, Lower The "Opacity" Of The Drop Shadow Down To 60% And The "Angle" To 120° Or You Can Set These Things Upto Your Choice. Click "OK" When You're Done To Apply The Drop Shadow. 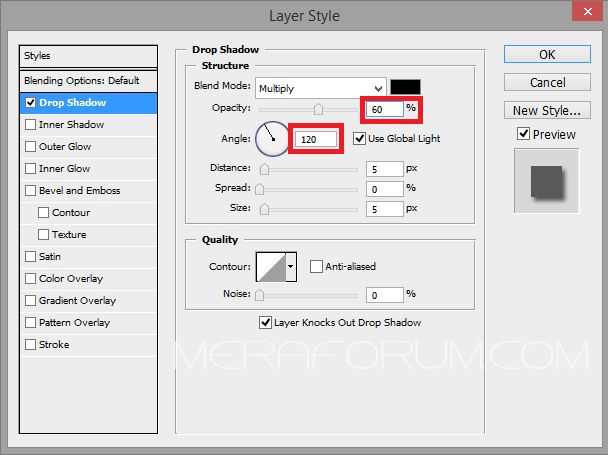 FINAL RESULT
 ➳ bE driveN wiTh puRpOse, Be r313n71355 in your alιgnмenт; with excellence. pAy n0 mInd to the ∂ιsιмραssισηε∂ เ๓ק๏tєภt ђคtєгร ♬ ☣ .. нoolιgan ☠


|
| Sponsored Links |
|
|
| Bookmarks |
| Tags |
| adobe, image, photoshop, put, text |
|
|
 Similar Threads
|
||||
| Thread | Thread Starter | Forum | Replies | Last Post |
| Beginners' Guide to Adobe Photoshop Page 1 of 4 Introduction to Photoshop | AYAZ | Basic | 16 | 02-16-2013 09:09 AM |
| Download ADOBE Photoshop 7.0 + Image Ready | AYAZ | Adobe photoshop | 15 | 10-24-2012 03:47 PM |
| EZ Chrome Text with Photoshop ! | QUEEN OF HEARTS ... | Adobe photoshop | 11 | 03-13-2012 04:01 PM |
| reflection text in photoshop | !!!sweety!!! | MF Design Tutorials | 10 | 08-25-2011 11:46 PM |
| Creating Runny Text with Photoshop ! | QUEEN OF HEARTS ... | Adobe photoshop | 19 | 08-14-2011 11:49 PM |


 Threaded Mode